Enter beginner blurb here.
Customers
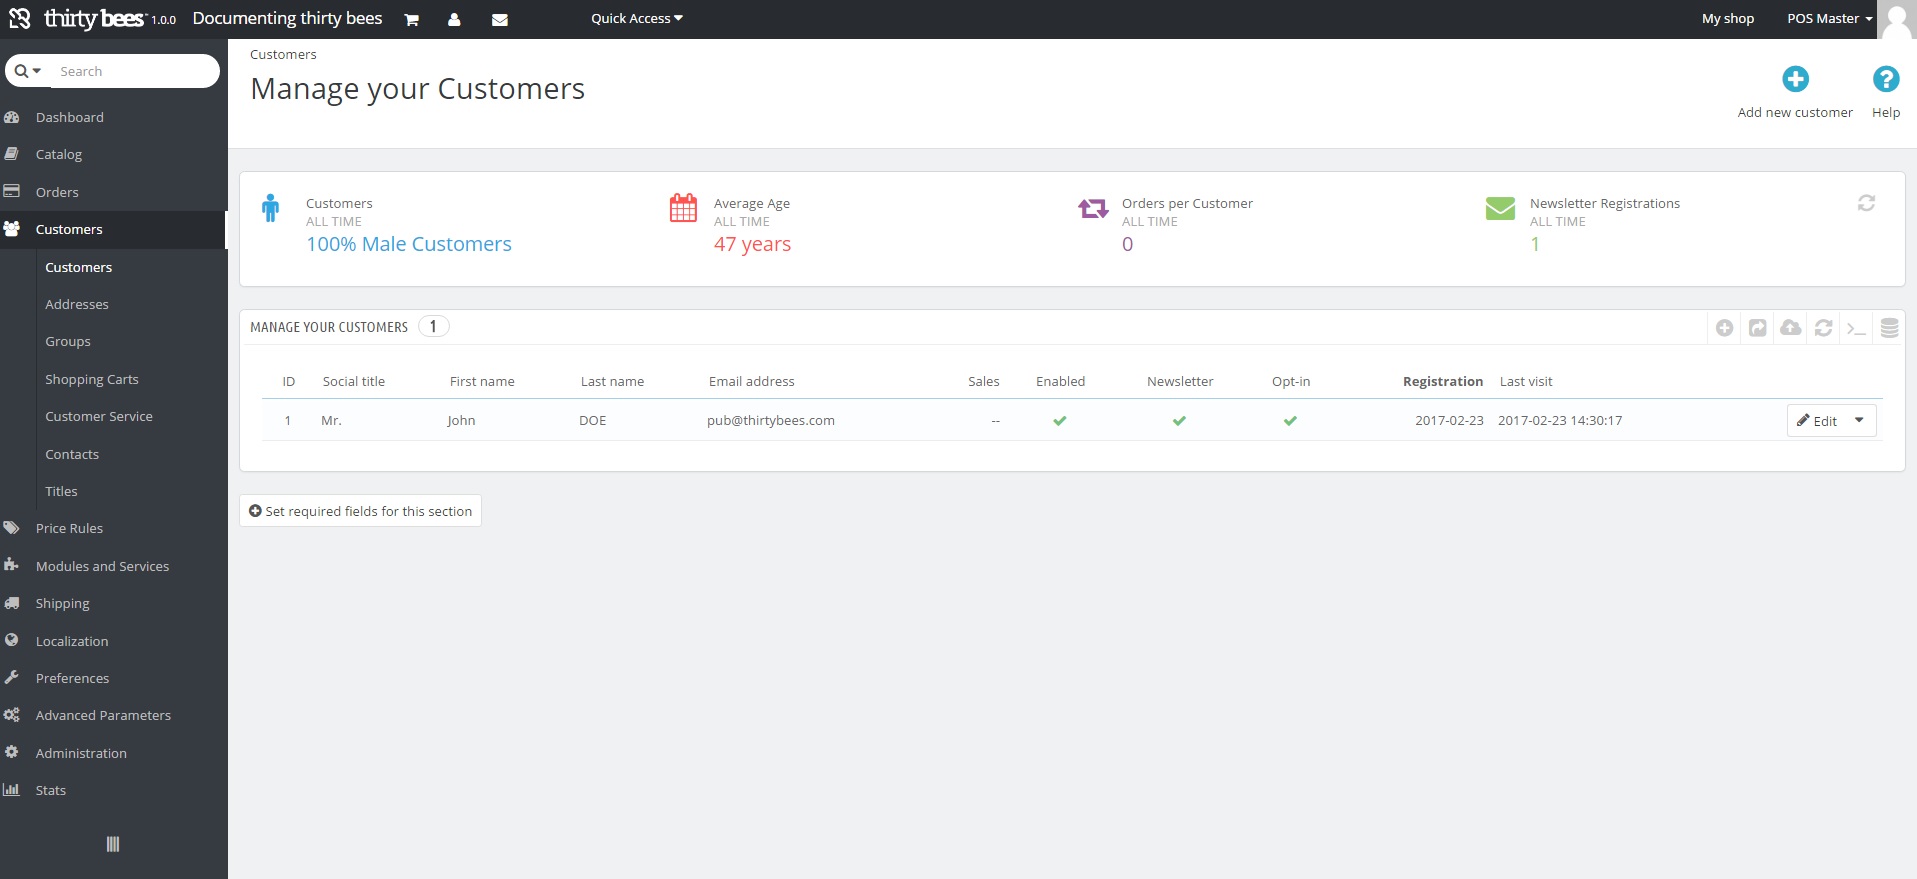
This screen shows you the list of all your customers. To manually add a new customer, click the Add New Customer button in the top right corner.
- Social Title - Optional - Set the title for this customer.
- First Name - Required - Set the first name for this customer.
- Last Name - Required - Set the last name for this customer.
- E-Mail Address - Required - Set the e-mail address for this customer.
- Password - Required - Set the password for this customer.
- Birthday - Optional - Set the birthday for this customer.
- Enabled - Is this customer profile enabled and active?
- Newsletter - Optional - Does the customer want to recieve your newsletter?
- Opt-In - Optional - Does your customer want to recieve your ads?
- Group Access - Required - Select the groups this customer is a part of.
- Default Customer Group - Optional - Select the default group this customer will browse your store as.
Addresses
Groups
This screen shows you all the groups in your store. You can put customers into specific groups, and then allow specific groups access to certain areas, features, or options. To create a new group, click the Add New Group button in the top right corner.
- Name - Required - The name of the group.
- Discount % - Optional - Apply a certain percentage discount for everyone in this group.
- Price Display Method - Optional - Display prices as tax included or excluded.
- Show Prices - Optional - Show the prices of the products in your store.
Shopping Carts
This screen shows you all the carts in your store. This includes carts which customers simply added to as well as completed orders. You can select and delete old carts which did not result in a completed sale as well as export the lists for further data analysis.
Customer Service
This screen shows you all the messages recieved via the contact us form on your store. You can view, respond, pass along, and close the tickets as the cases are handled.
Contact Options:
- Allow File Uploading - Allow customers to upload files when submitting a message?
- Default Message - The default template when creating or replying to a customer.
Customer Service Options:
Contacts
This screen shows the Customer Service contacts available to your customers via the contact us form. To add new contacts (departments), click the Add New Contact button in the top right corner.
- Title - Contact (department) Name
- E-Mail Address - Messages sent to this contact (department) will be forwared to the e-mail address set here.
- Save Message? - Save all messages in the customer service screen?
- Description - Information for the customers regarding this contact (department)
Titles
This screen shows the titls available when customers are signing up, eg. Mr., Mrs., etc. To create additional titles, click the Add New Title button in the top right corner.
- Social Title - Required - Set the name of the title.
- Gender - Required - Set Male, Female, or Neutral.
- Image - Optional - Add an image icon for the title.
- Image Width - Optional - Set the image width of the icon.
- Image Height - Optional - Set the image height of the icon.
